Save Image Locally
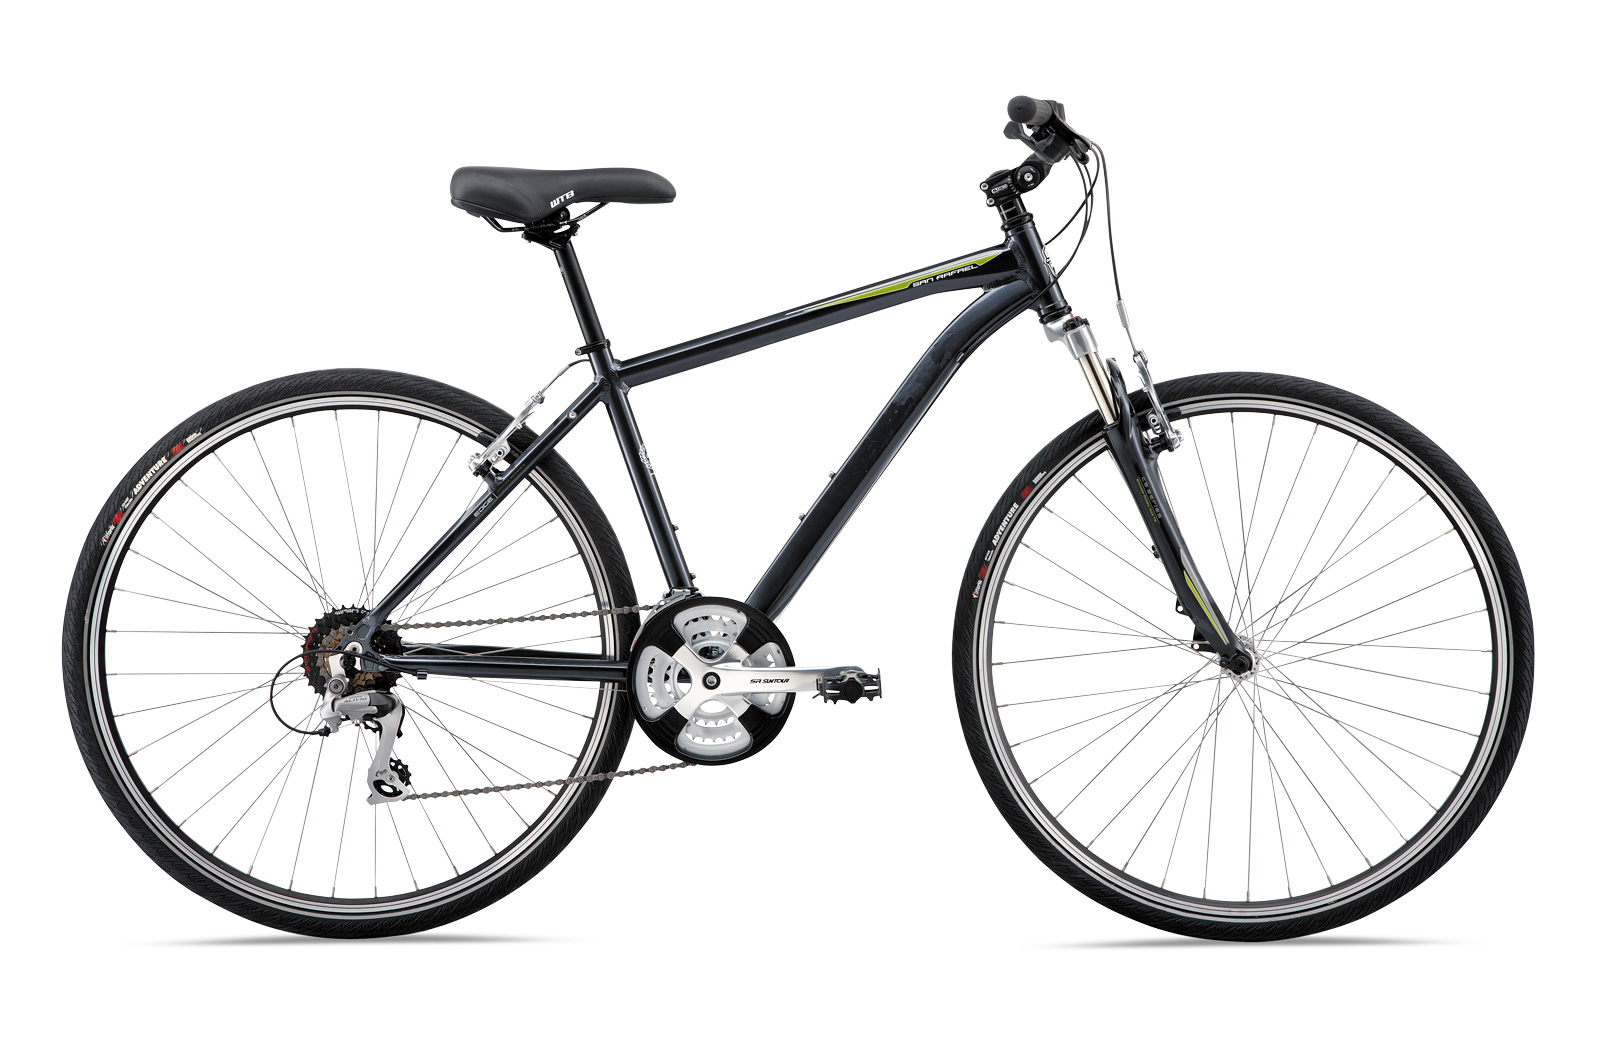
To begin with, save the image below locally on your computer so that you can import it into your project.
Creating Two Views
We will create two separate views:
ATS Bike Frame
ATS Bike Brakes
The views will be used in different steps of the inspection.
Create Bike Frame View
Run the View Composer application.
Click New.
The Create New View dialog opens.
Enter ATS Bike Frame in the description field.
Enter BIKE FRAME in the code field.
Leave the Default Layer as it is. Layers are only used in 2D (raster) views but a name is required for the default layer whichever type you're producing.
Select Size view to image in the lower-left pane.
In the Image pane click the add button ( ).
).
The Select Image dialog opens. You can now add either a raster image (2D) or a vector image (3D). We will add the 2D image you saved above.
Click the Add raster image button ( ).
).
Locate and open ats bike.png.
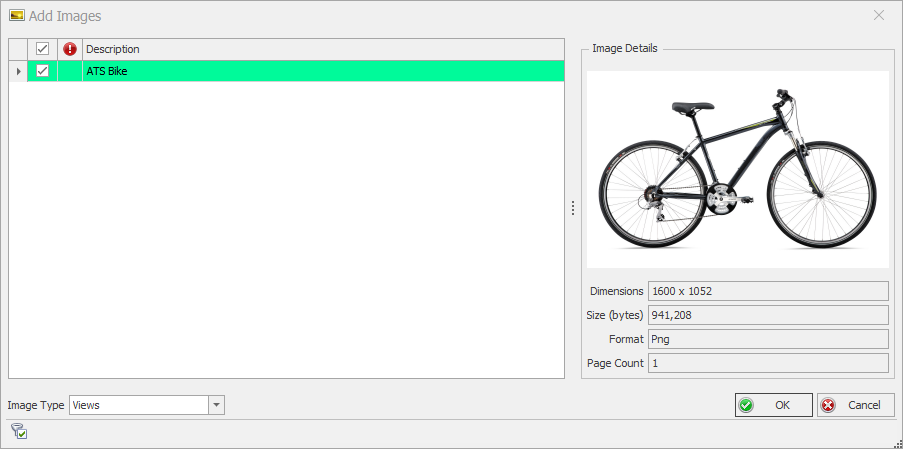
In the Add Images dialog that opens you can see a preview of the image and you have the option to rename it but we'll leave it as it is.

The Image Type drop-down list allows you to specify how the image will be used. It can be left on Views.
Click OK.
The image is now imported into the database and can be added to the view.
With the image selected click OK.
A preview of the image is displayed in the Create New View dialog.
Click OK.
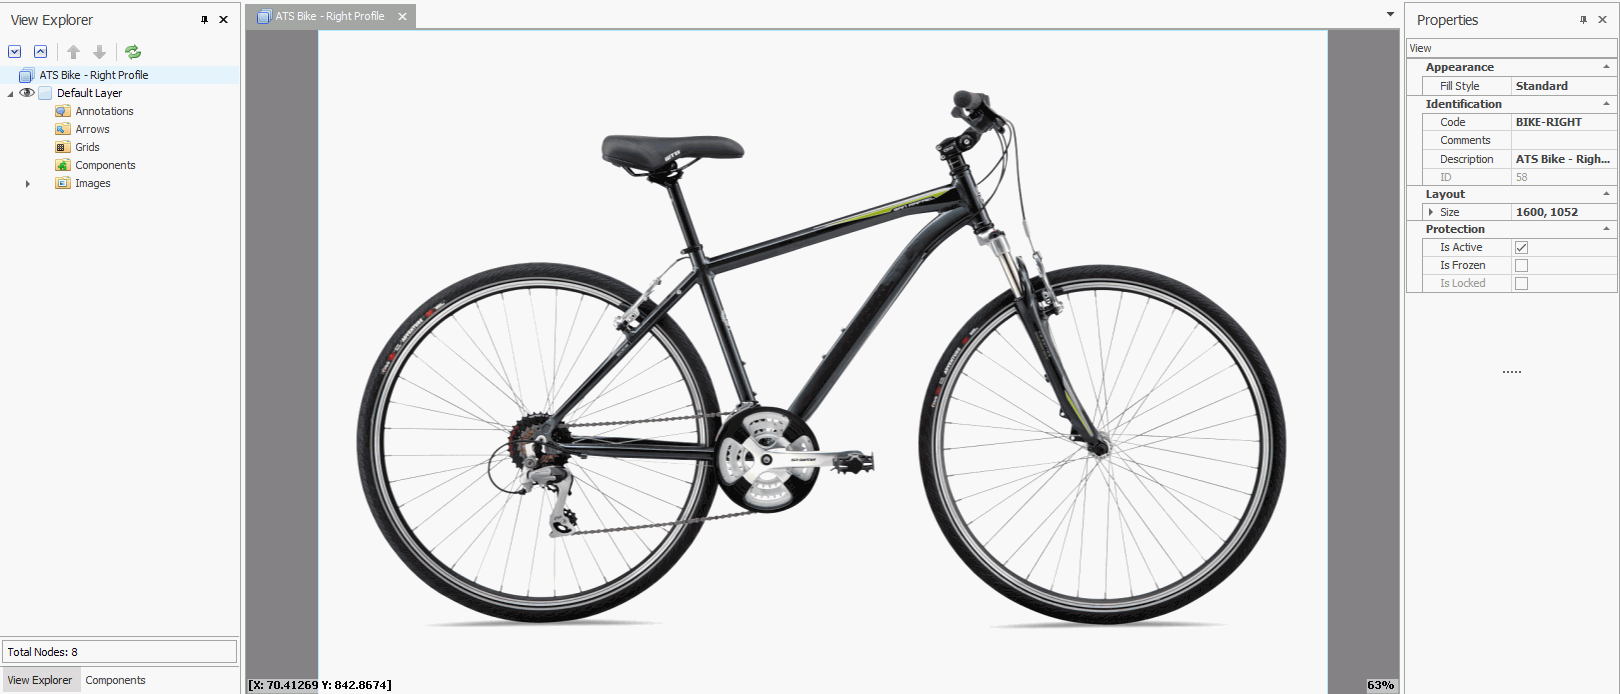
The raster view is created.

Components can now be added to the view.
Create Bike Brakes View
Click New in the Home tab.
The Create New View dialog opens.
Enter ATS Bike Brakes in the description field.
Enter BIKE BRAKES in the code field.
Select Size view to image in the lower-left pane.
In the Image section click the add button ( ).
).
The Select Image dialog opens.
Select ats bike in the list of images.
Click OK.
A preview of the image is displayed in the Create New View dialog.
Click OK.
The raster view is created.
Components can now be added to the view.
